Source: paisleytreepress.com via Anna on Pinterest
Now here's an idea that's different from the usual lighting you see at a wedding! Maybe this trend will catch on in 2011? What's going to be this year's 'it' things?

Source: paisleytreepress.com via Anna on Pinterest

Source: diyideas.com via Theresa on Pinterest

via on Pinterest

via on Pinterest

via on Pinterest

via on Pinterest

via on Pinterest

via on Pinterest
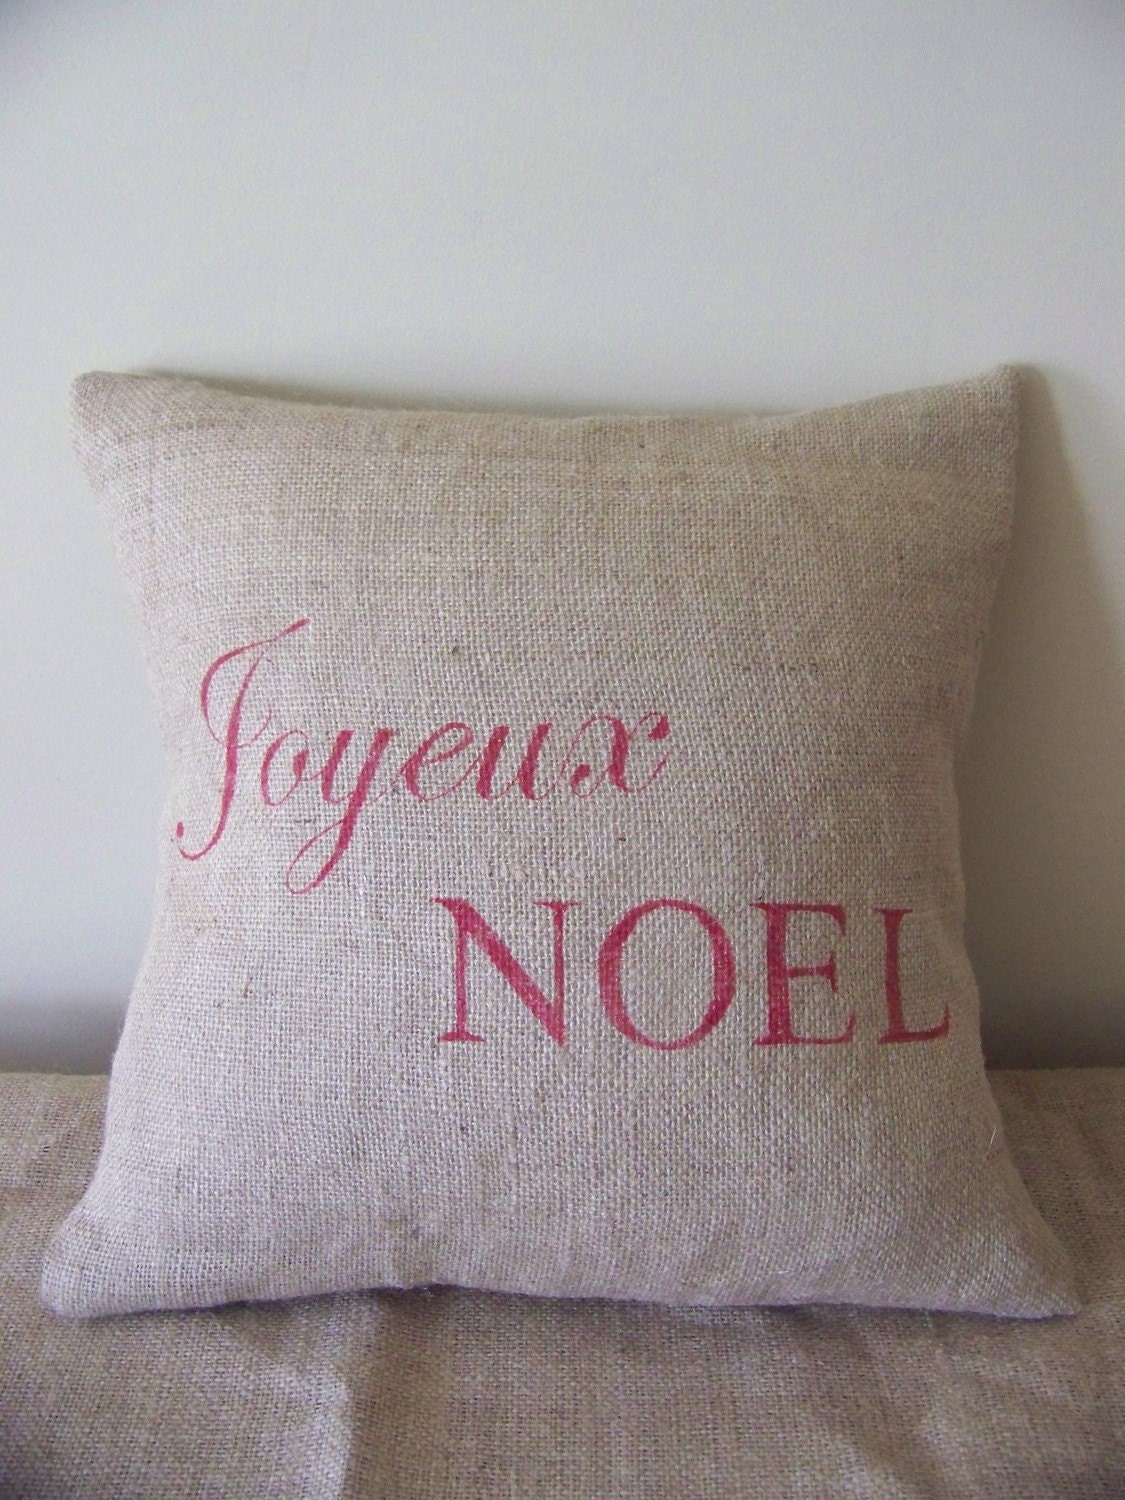
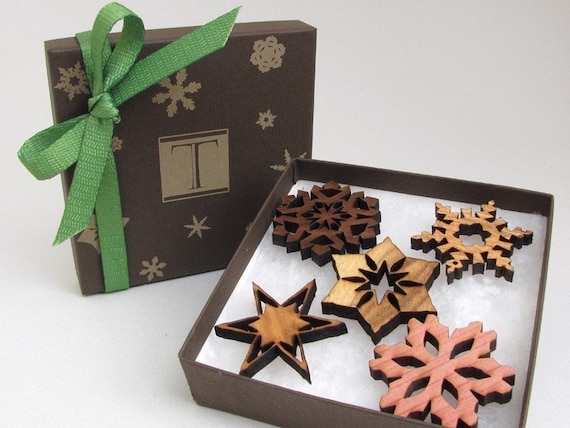
I'm a busy little elf in my "workshop" aka the dining room, working on gifts and cards. The holidays are creeping closer and closer! Do you have everything done yet?


Instructions:
Step 1: Using paper stem wire create the letters. More than one wire may be necessary, as well as cutting for shorter wire lengths. For example, the M was created with two full length wires and a half of a wire.
Step 2: Using florists wire connect the paper stem wire to form one shape. Bend the paper stem wire at joins and intersections or twist the pieces together. Be sure to wrap the florists wire tightly to secure the letter.
Step 3: Using the florists wire create a mesh base to start the volume of the letter. Wrap and bend the wire around the test. The mesh can be as wide as you like, I kept mine between 0.5″ and 1″ away from the stem.
Step 4: Weave, wrap, and braid the raffia through and around the wires to create the next layer. Try to cover the wires as best as you can, but don’t worry if you can’t cover them completely.
Step 5: Cover the remaining wires sticking out by wrapping the raffia, tall fake grass, and any other elements you are using. Wrap as evenly (or unevenly if you prefer that look) as you can around the letter monogram. Secure at points with twine and tuck ends into the weaving.

Overall the letters took me an hour to design and make. They're perfect for a rustic country wedding any time of year, or for a harvest Fall wedding.